Friday, May 29, 2009
Better get a move on
More annoyingly I have to also address all the envelopes (which I've been playing around with) and I have serious issues. First of all, I have pretty handwriting but I can't write straight when I need to. Second of all, I was going to do the whole '"print out the names and addresses and then trace them" like Jenn did, but that was not working for me either, they looked messy(I think my pen was too thick, serisouly it's a great idea and you should try it- it just didn't work for me). I've wasted a bunch of envelopes trying to get it right, but I still have not. I even went as far as trying to learn calligraphy from a book I rented from the library- this would have been a great help, but I'm no calligrapher. We can't afford a calligrapher and at this point I'm thinking I really don't care about the envelope. I may complete an etiquette f aux-pass and print them out with a fancy font on my printer.
Do you REALLY pay that close attention to the envelope you get in the mail or is all this obsessing over nothing?
Friday, May 22, 2009
Thank You!
Making my thank you cards was REALLY easy. I had previously bought a stamp from ebay for under $10 that I was using on another project (don't worry, i'll blog about this when it's completed) and I was glad that I found another use for it with the thank you cards.
Materials needed:
embossing ink pad (it's clear, but really you can use any color ink you want it just won't show up after you put the embossing powder on it unless you use clear powder to show off the color underneath)
Stamp
embossing powder
Embossing gun (previously bought with a 50% off cupon at AC Moore)
5x7 paper (previously bought for my invitations but didn't use)
Gocco & Gocco ink (previously bought on ebay)
bonefolder (previously bought at AC Moore)
I used a pearly white paper I had bought from Paperandmore for my invitations, but didn't use for them (more on this later) and I stamped the paper with the butterfly stamp and then sprinkled embossing powder over it. Make sure to catch the extra on a piece of paper or a plate and you can put it back in your container and reuse it.
You have to pour the embossing powder on right away, but you don't have to use the embossing heat tool or gun right away. So I let a bunch of them pile up and then I went to town using the heat tool. (There's some chatter out there on the internet that a heat tool is unnecessary and you can use your stovetop burner to heat up the paper. Nope, not so much. I tried this a long time ago and after burning the paper and what felt like my hand, my paper was not embossed and I had to buy a heat tool. save yourself the hassle and buy a heat tool they aren't expensive).
After I enbossed my paper, I used my bone folder and my paper cutter (to measure) to score the cards in the middle.
After the scoring, I used my Gocco to print the words Thank You on the cards since they were too thick for my printer(I was not a happy camper the day i found this out).
Sorry for not having along-the-way pictures, but here is the final product:
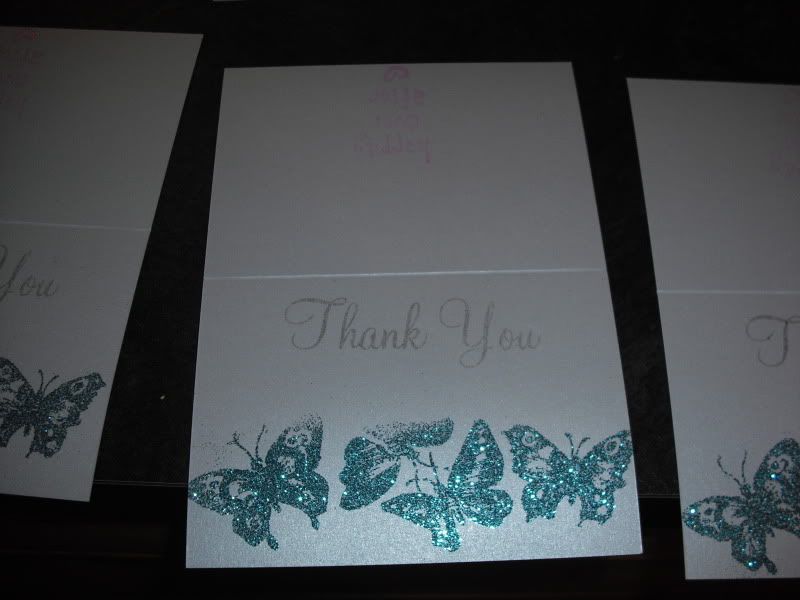
and a close up:
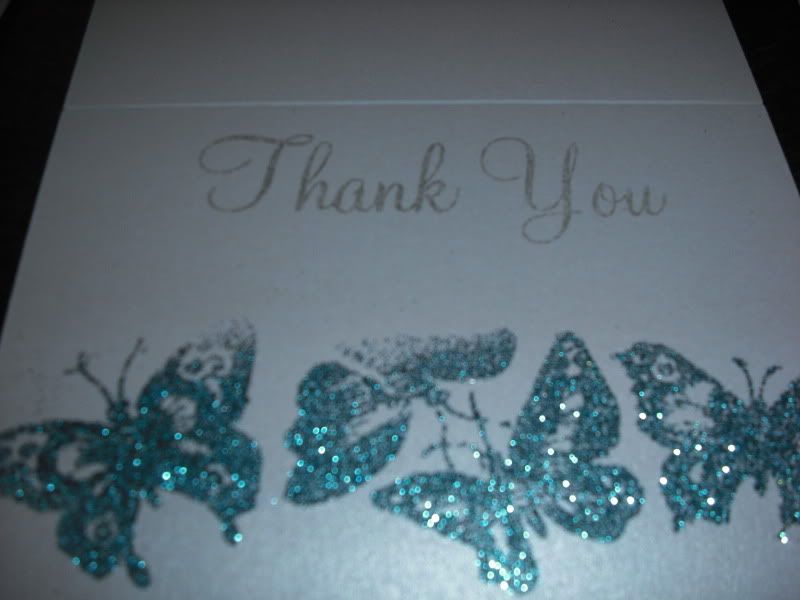 you may have noticed I stamped something on the back- I found a stamp I had in my craft bin that said "happily ever after" and i thought it would be cute to stamp on the back of the card, so i did, in pink.
Are you planning on making your own thank you cards?
Monday, May 18, 2009
Sign Here Please
For an insane moment, I looked up how to make and bind my own book (there are differnt binding techniques but I liked this coptic one) because I thought it would be cheaper than spending $50 on a guestbook. The instructions are intense and I'm really not sure how expensive it would be to make. I would actually like to try this someday, but maybe not so much right now.
While out with MOH Cooper this weekend she kept pointing out cheap (and cheap looking) guestbooks I could get. Now, I don't mind getting a cheap guestbook, but I don't want it to look cheap! And then I hit the jackpot at Walmart.
Here is my $10 guestbook in all it's glory. It's really quite cute inside. I loved the satin bottom portion and thought to myself of all its hidden potential.
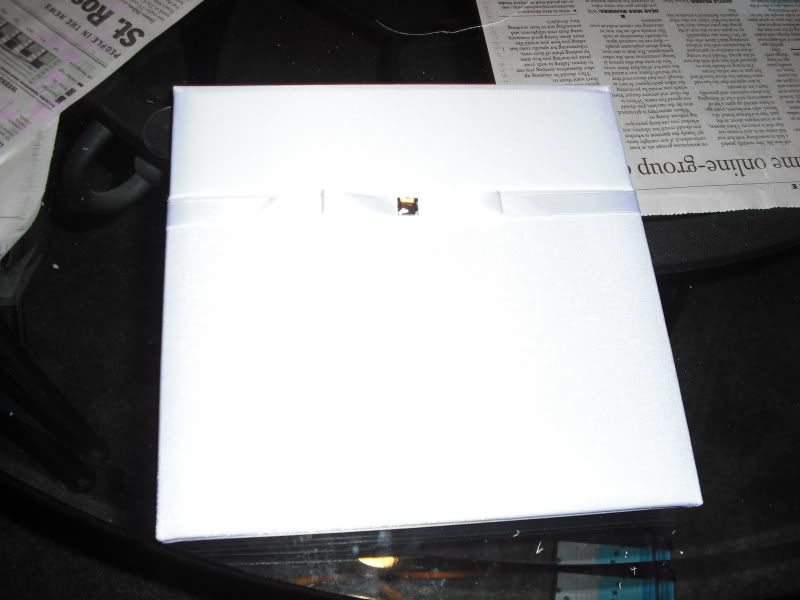
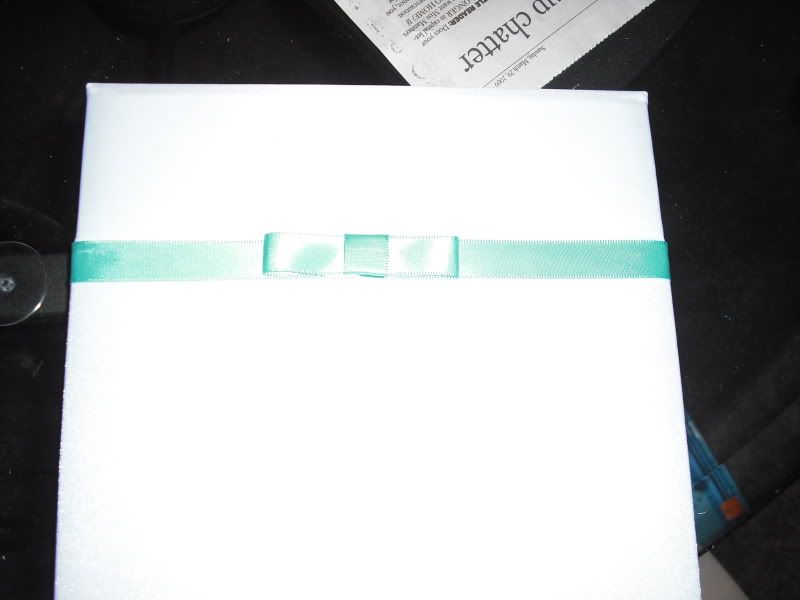
I decided I was going to replace the ribbon with my own turquoise colored ribbon which I had previously bought for a differnt project. It was pretty easy to do. All I dip was open the cover, cut the paper that was over the ribbon and ripped it off. I Then cut a piece of ribbon the same length as the white one I pulled off, put double sidded tape on it and stuck it on in the place that the white ribbon had been. I made a bow and stuck that on with double sidded tape too.
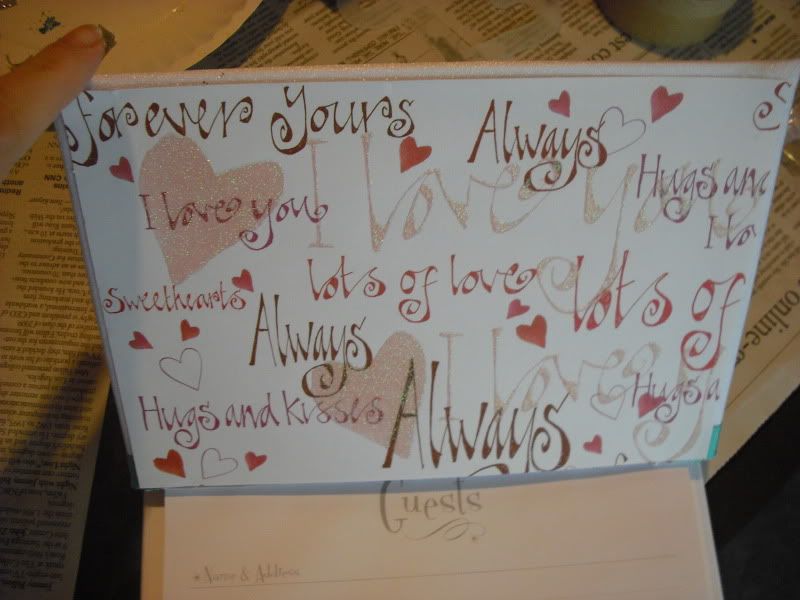
Then I replced the paper on the inside with a piece I had bought from AC Moore with the cutest love sayings on it. I measured it to the paper I had ripped off, put some double sided tape on it and viola! cuteness! I was also going to replace the back piece, but the last page was glued down, so I just forgot about it.
I thought it was missing something, so I went down to my craft bin, and pulled out these cute cardboard cut out letters I had bought for tracing, and decided I would use them on the book as well. They were light pink, but I wanted them to be a different color.
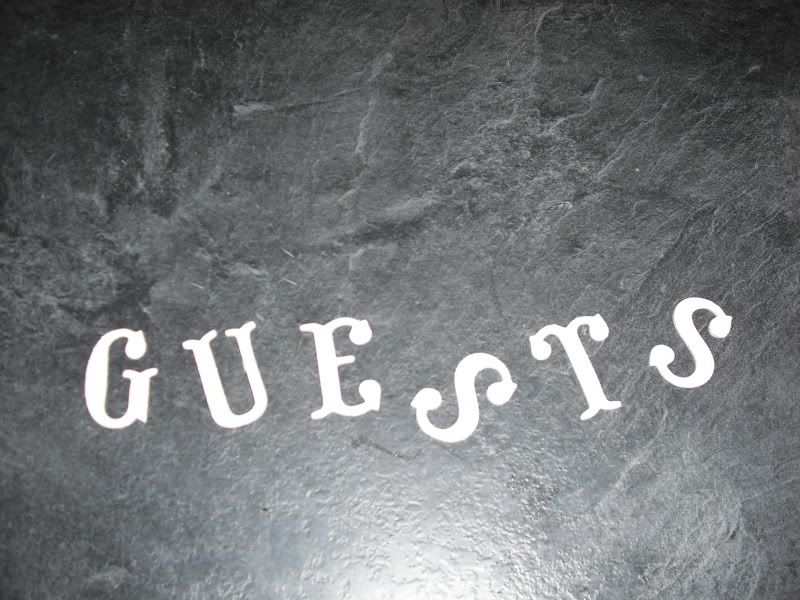
Some glue, turquoise glitter embossing powder and after using the embossing heat tool this was the result.
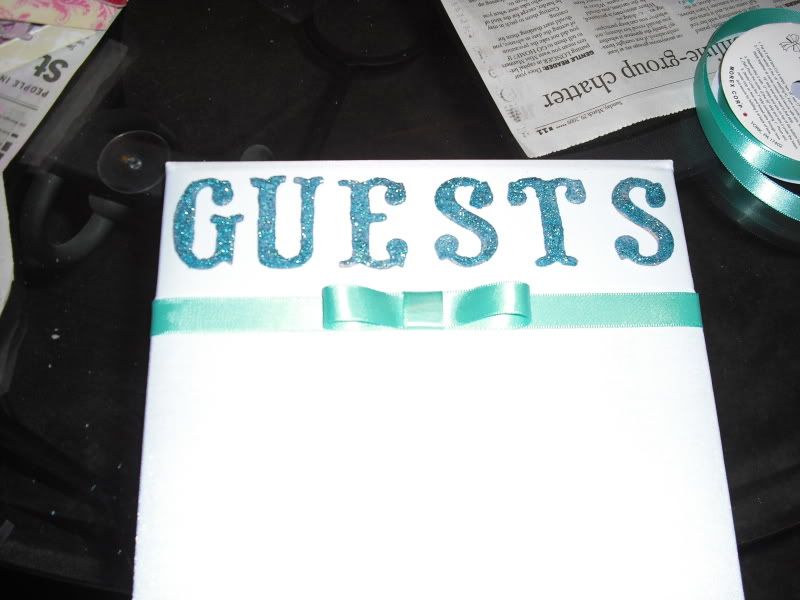
I glued the letters on with rubber cement and placed something heavy on them until they adheared.
I'm not sure how I like the letters, I like the idea, but they didn't exactly turn out the color I was expecting. I thought they would match the ribbon exactlyand they don't. They got darker after the embossing. I'm trying to be okay with it. I had wanted to do them hot pink but couldn't find hot pink embossing powder at AC Moore, so I settled and I'm nt sure how I like it.
What do you think of my $10 guest book?
Sunday, May 17, 2009
Numbers never looked so good
Materials:
15 Photo frames
Wooden Numbers
3 Sheets 12 x 12 Sparkly Paper
2 Acrylic paint
a few Glue sticks
Glue Gun
Butterfly punch
2 sheets 8x 11 colored cardstock(1 pink, 1 turquoise)
Spongy paint brush
I bought 15 silver photo frames from the dollar store.
 Take out the glass and the backing plate. Rub your glue stick all over the backing plate and glue Sparkly paper onto the backing plate.
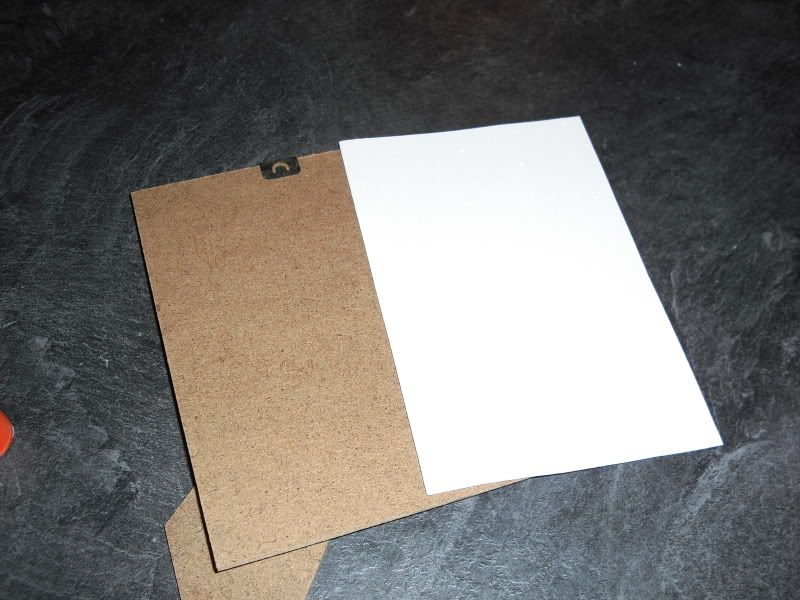 I then placed the glass over the backing plate and put something heavy on it so the paper didn't curl up.
Next, I painted the silver frames with acrylic paint. I had to do two coats to cover the shiny silver material.
While I was waiting for the frames to dry, I painted the wooden numbers in a pretty turquoise paint.
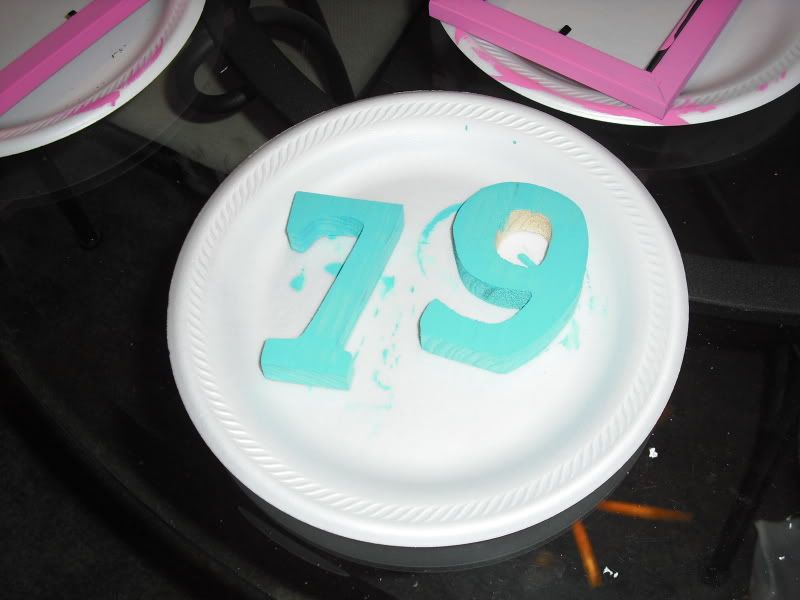 After everything was good and dry, I put the backing plate back into the frame. I then took my glue gun and glued the numbers right onto the backing plate. I got out my butterfly punch and punched some butterfly's out of a sheet of sample cardstock I had bought from paper and more. I glued the butterfly's onto the numbers.
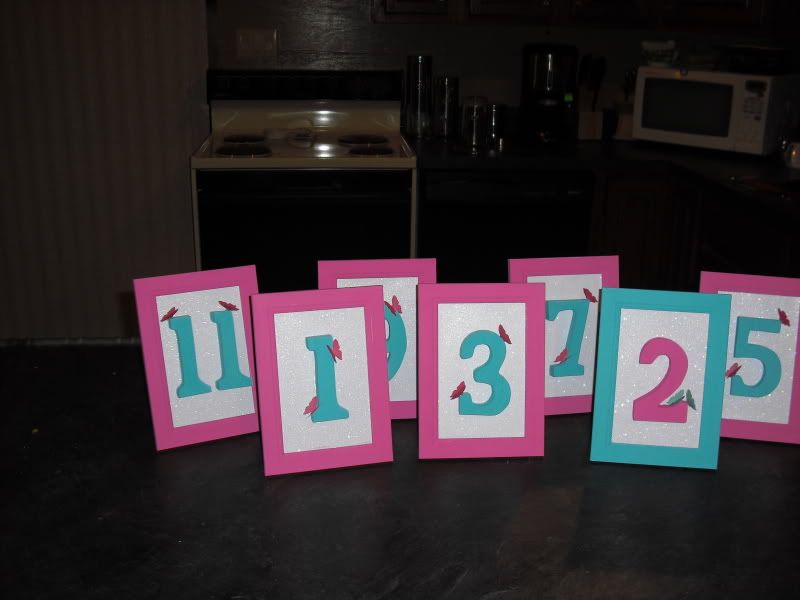
I made all the odd number frames Pink with turquoise numbers and pink butterfly's and all the even table numbers are turquoise with pink numbers and turquoise butterfly's.
Viola. Project completed.
Now I need to figure out what to do with 15 panes of glass I have leftover from this project. I'm sure there is some craft I can make out of them. Any ideas/suggestions?
No Sleep 'till....
I'm sitting here anxiously awaiting AC Moore to open and it doesn't open until 10:00am today. I have a new craft project in mind and I need to get something for it from there. Did I mention that I have been to AC Moore 4 times in the past 2 days? no... oh, it must have slipped my mind. I may be officially addicted to crafting.
My craft projects were officially haunting me last night. I know I'm not the only one tossing and turning these days-what keeps you up at night?
Thursday, May 14, 2009
Bad Bride, Bad Bride,
I do.
Hot Mama, her little girl, little boy, and husband are all in the wedding. I really didn't want them to spend more money that they have to since there are 4 of them that have to buy attire. Then, I saw this dress and all my rational seemed to disappear.

Our cute little flower girl is a professional flower girl, as she's been in 4 weddings already. She is highly coveted as flowergirl for all the family weddings and even friends of the family weddings. My original plan was to find a flowergirl dress that was different from any others she had worn for a great price.
Mission half accomplished. The price was not a selling point. I kept looking for other FG dresses that I loved. I found a few I liked, but none that I loved.
The man's sister, Hot Mama, and I get along quite nicely and e-mail regularly. I e-mailed a bunch of dresses I liked to her and then this one and said if it was cheaper it's the one I would want because I love love love it. She loved it to.
Hot mama went on an online shopping search. She found a place (I forget the name of it) that had this dress for a more reasonable price than I had found. She asked me if it was the one I wanted and said she loved it and wouldn't mind spending that much on it.
I said i wanted that one.
I still feel guilty about it. Now, she did find it for a more reasonable price, and looking online at David's Bridal prices for FG dresses, none of which I love, are all around the same price as she got for this one. I just feel that it is still too much for the FG dress as it IS something she will grow out of. I had wanted to be a thrifty bride and have her spend such a small amount on the FG dress, but I failed. Clouded by the wedding haze, I picked a more expensive dress. In retrospect, Hot Mama probably only said she didn't mind paying that much because she knew it was the one I really loved. Bad bride, bad bride!
It's been ordered and will be here in June and Hot mama and I are anxiously awaiting this beauty.
After spending a lot of Hot Mama's money, I thought I owed her a really great deal, which I found for the ringbearer. I was browsing around one day on weddingbee and saw a post on the boards about a going out of business sale for a company (I can't remember the name of it). I immediately e-mailed the web address to Hot Mama. Although the man hadn't picked his tuxes yet, we decided for the prices of these tuxes, you couldn't beat it. We knew the style the Man liked and picked a similar tux. We had to move fast as little tuxes were flying out of there. Hot mama got a tux, two vests (one black, one silver) and two ties to match, plus shipping for under $20. It was a kick butt sale. She also noticed recently that the vest had gotten small since little ring bearer is growing, and she called the company up and they sent her a new one for FREE. Kick butt.
Have you picked out something for your wedding because you needed it but that later made you have bridal guilt?
Wednesday, May 13, 2009
Stalled
I thought of using tulle, but it just wasn't doing it for me. Then I cam across these giant tissue pomanders. It was love at first sight. They would be perfect to hang from the Gazebo. I bought a bunch of tissue paper and began the daunting task of making the tissue paper flowers. I also placed an order for 2 18" Paper lanterns and 2 24" paper lanterns online. I wasn't really sure how big they would be and let me tell you, the 18" was PLENTY big.

I quickly learned making paper tissue flowers was really annoying and it took a really LONG time. Some of my flowers didn't even look like flowers, just like puffs of tissue paper. I also didn't like how they were turning out different sizes. The perfectionist in me said "uh-oh" and quite frankly, I didn't like the results I was getting. Luckily, I hadn't attached them to the paper lanterns yet. I gave up on the tissue paper flower pomanders although if you can handle making these, it would be quite the cheap project!
I still wanted pomanders to hang from the Gazebo, so I came up with a new plan while I was at the local craft store, AC Moore (where I spend a lot of time these days).
My New Project: Giant Flower Pomanders.
But how is that different from before, you ask? Well, instead of tissue paper flowers, I am using Silk Flowers. No making flowers for this chica. I bought some silk flowers while out on a trip to AC Moore (our local craft store).
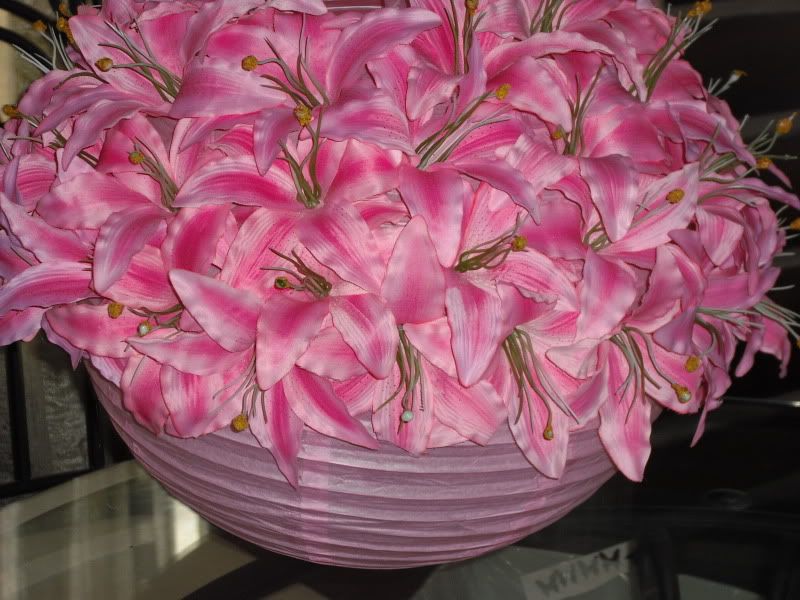
Once home, I borrowed the Man's wire cutters and cut all the flowers off the stems, got out my trusty glue gun and my paper lanterns. I began gluing the lilies onto the paper lantern around the circumference of the lantern. I'm not going to lie, getting the first row onto the paper lantern was really annoying. You had to hold the flower in place until the glue dried completely or it would move or start to dip or slide down the lantern. It took a lot of patience, but after the first row, the new flowers I glued on had something to lean on, so it was a lot easier, faster and stress free.
I had purchased what I thought was an abundance of Pink Lilies. On my first trip to AC Moore (can you see where this is going), I purchased 6 stems of Lilies. The 6 stems were made up of 12 flowers on each stem, for a total of 72 flowers. Certainly enough to make 1 pomander, right?
Wrong! Those 72 flowers didn't even come close to completing the project and I quickly found myself heading to AC Moore once again for another flower fix. I purchased 6 more stems (all of their current stock in the store and they were still on sale-score) and went home to complete the project.
My completed Pomander, sitting on the table: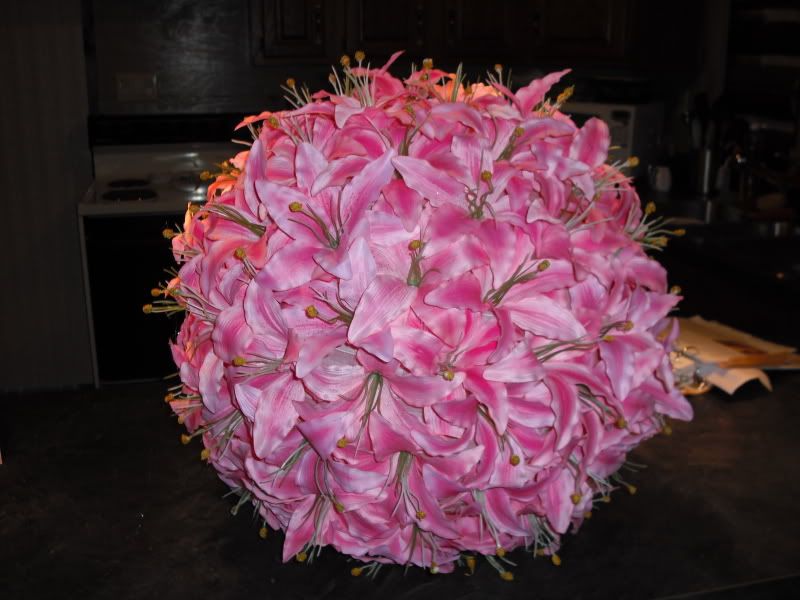
I tied some pink ribbon to the top and it hangs quite nicely. I Love it. It's so pretty in person, the picture really doesn't do it justice.
I wanted to make two Pomanders. I wasn't sure I wanted them to match and thought the 2nd one would look cool with Gerbera Daisys. So I began making the 2nd one with a different flower. I decided I didn't like it at all, and took the flowers off of the lantern. I ripped the lantern and had to buy a new one because, duh, they are really thin and hot glue doesn't detach easily.
I stopped at AC Moore and bought out their flower stock yet again (all 6 of them) knowing they would probably be getting more in soon and I'd just go back and buy them. I knew the flowers I purchased were not going to be enough to finish.
AND This is where the story ends tragically.
AC Moore has not gotten new flower stock in of my beloved lilies. I've been stalking them every week for a month. I should rephrase, AC Moore has not gotten new PINK lily flower stock. They got new colors in like white, orange, stargazer......but that doesn't help me.
My project is officially stalled, half completed. This is why I can't buy the other colors to mix in: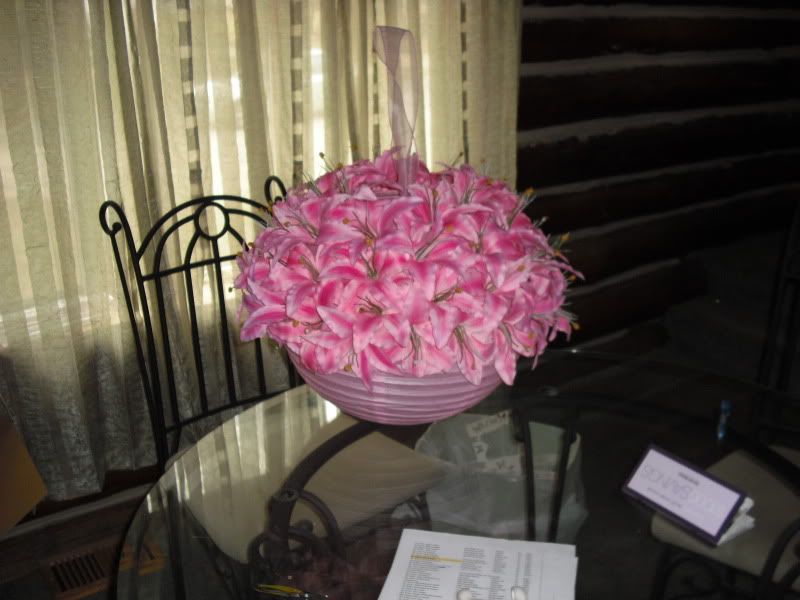
What's a bride to do when she can't find the supplies to finish her projects?
UPDATE:
I sent my mom on a mission to find me some pink lilies. It didn't end happily. She did talk to the store manager at the AC Moore in Latham who was helpful and said she'd send a mass e-mail to ALL the AC Moore stores (131 of them) to see if they had any left in stock. She was supposed to call if they did. We haven't heard a word from them. Why o why did they have to switch their flower vendor in the middle of my project? don't they know I have a wedding coming up here? *sigh* I would be happy if they would even let me in on who their vendor was... finding pink lilies is like looking for a needle in a haystack....
It's been awhile!
And our computer is finally fixed. A few weeks and a new motherboard later and it FINALLY plays nice with my printer. YAY. As any DIY bride knows, a printer and a computer are essential. In fact, I've been using them non-stop lately.
I'm in the process of uploading some pictures so I should have a good blog up in the next few days.
In other news, I've been working out non-stop to Jillian Michaels 30 Day shred and Banish Fat Boost Metabolism and eating a healthy diet in hopes of dropping some poundage. I have not seen much movement on the scale and I managed to hurt my knee last week while trying to banish some fat which of course made my workouts pretty light last week(so not what I need right now). Despite the knee injury, I have managed to lose a few inches: one around my stomach, my waist and my thigh!
I DO feel like I'm building muscle.......which would usually make me happy, but it is not the goal right now. *sigh* In fact, I feel like my arms got bigger and I want them to shrink. I love Jillians workouts but I think they may be more for toning and gaining muscle than for losing fat. I'm not ready to give them up just yet because I am seeing really good results, just not exactly the results I was picturing.
Next week I'm starting a new diet/workout program which Hot Mama (The Man's older sister and one of my fabulous bridesmaids just got from her friend who is a personal trainer --and then she shared with me) and it is supposed to work really well for losing weight. I'll let you all know how it goes.