Some of you may have seen my sorry attempt at making a cardbox a few posts ago. I wasn't completely happy with the way it turned out and then as it turned out, cards wouldn't fit in it as it wasn't deep enough. Oh well, I'll chalk it up to a learning experience! Measure first, attempt later. It gave me a reason to make another card box though, and I was hoping that it would come out way better than the first attempt.
Materials Needed:
3 Boxes big enough for cards to fit in- varying sizes
1 can of Kiltz spray paint
1 can of Rustoleum Aqua Spray Paint
3 spools White Ribbon (1 with wire in it)
Hot Glue Gun and hot glue sticks
Box cutter
Glue Dots (already had these)
Floral wire
Cost= Less than $20
Step one- Find boxes that are large enough to hold cards
I looked ALL over for boxes in the right size that wouldn't break the budget. I finally scored when Cooper and I went to the Christmas Tree Shop where there were several boxes there that we found that would work quite nicely. While not quite as square as I wanted them to be, the sizes were exactly what I was picturing. And since I couldn't find ANY boxes anywhere that were what I was envisioning, and because they were so cheap, I decided to roll with them. Cooper, being the best MOH ever, used her extreme height to help me (short here) reach some of the ones on the very top shelf... the Untouched ones. Cooper is spectacular at inspecting things for flaws, so of course I left there with the best boxes ever. Thanks Cooper! It cost about $12 for all 3 boxes.
Step Two- Find a design
I found a cool idea I wanted to do online for sale for $60+ shipping. No way was I going to spend $60 on a card box!
Step Three- Construct
1. My boxes had a beautiful design on them.. they weren't plain, but I figured that wouldn't be a problem for me and my Kiltz. If the design would have went with my wedding theme, i would have kept it, but alas, it did not... so I brought my boxes outside and Kiltzed them. Kiltz is like a primer that covers everything up and makes it really easy to paint over anything. We had some good Kiltz experiences when we were fixing up the house. Of course it decided to become extremely windy in the middle of my kiltzing and I ended up having to go get some more as it was blowing all over and not getting the boxes like it should have been. I think I had an old can of it or something too, because it really sucked. So I went down to the hardware store down the road covered in kiltz white paint. I looked super hot. Luckily, I wasn't looking to pick anyone up and I really didn't care. The second can of Kiltz worked super well. So good, in fact, it made me think the first can was flawed somehow. The Kiltzing went smoothly after that... except for when the wind picked up and blew my box lids all over the place (yep, I had to chase them through the yard) Lucky for me, no damage was done.
2. After the kiltz dried, I sprayed them with my aqua paint. They looked nice. I sprayed 2 coats, let them dry and brought them in. I saw some places I needed some touch ups because of the dumb wind.
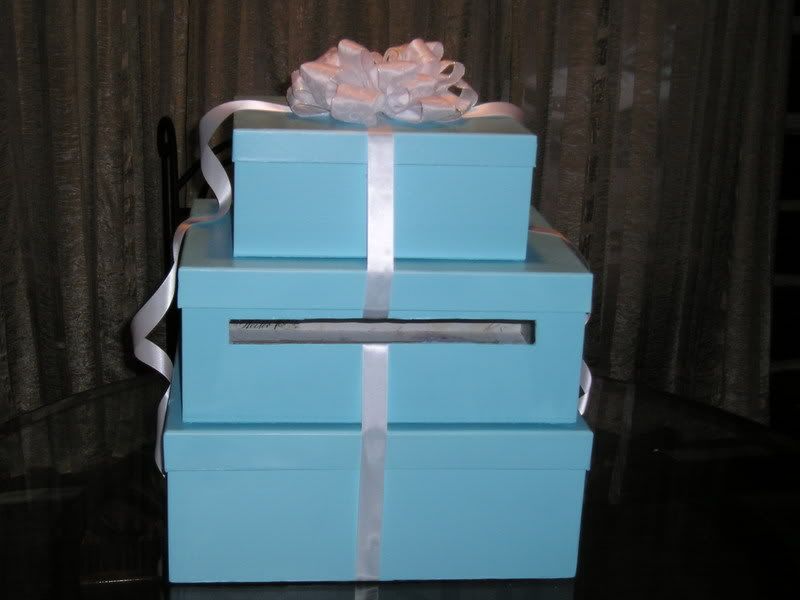
3. Next cut out the slot with the box cutter. Yep, totally should have done this BEFORE painting. Duh. I totally needed to do touch ups after this step was completed. I seemed to like making more work for myself. I also cut a hole in the lid of the bottom box to let the cards fall into that one as well. It was annoying and took forever, but came out really nicely.
4. Touch ups. brought them all back outside and sprayed them all again. Perfection was reached.
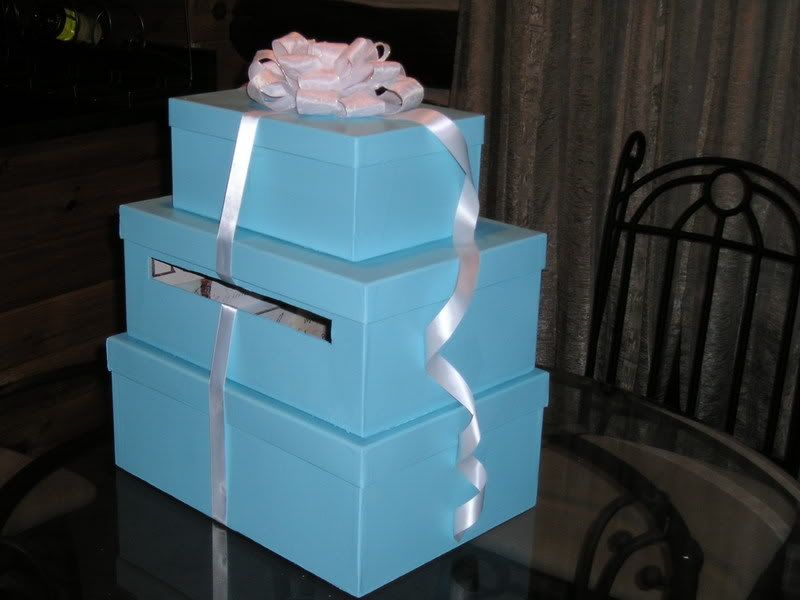
5. Glue boxes together using glue gun. Admire work.
6. Attach ribbon to the box with Glue dots (really cool stuff). It totally needed something more, so I was off to AC Moore again for more ribbon.
7. I bought some white ribbon with wire so I could make a big bow for the top. I found a cool tutorial on youtube showing me how to create a bow:
http://www.youtube.com/watch?v=EVdRsNmnkW4
I wanted to make my bow fuller than she does in the video, so I just kept making more and more loops.
8. Use floral wire to tie the middle of bow off. Puff out loops. Attach to box using glue dots or glue gun.
9. Find somewhere to store it for (7) months!
No comments:
Post a Comment